Question
How do I enroll the Okta Verify App on my smartphone/tablet and computer?
*Note: It is imperative that you install Okta Verify on two devices in case your primary device becomes unavailable. If device #1 (a smartphone, for example) gets lost or stolen, you can then use device #2 (laptop or tablet) to sign into your account. Otherwise, you will not be able to sign in until you connect with the Service Desk, go through ID verification, and have your security methods reset. If you have previously enrolled a phone in Okta Verify and need to add a new device to Okta, please refer to KB0017575.
Answer
For installing and enrolling Okta Verify on your Apple computer, follow this article: How to Add Okta Verify to Your Mac to Enable FastPass
For installing and enrolling Okta Verify on your Windows computer, follow this article: How to Add Okta Verify to Your Windows Computer to Enable FastPass
For installing and enrolling Okta Verify on your smartphone or tablet, follow the steps below:
- Log in to Okta on a computer by visiting okta.nd.edu and entering your NetID and password
- When prompted for two-step verification, respond with a previously enrolled option
- Click your name in the upper right corner
- Select Settings
- Locate the Security Methods panel and the option for Okta Verify
- Click the Set up button beside it (or Set up another).
- If you've previously configured the app and wish to reconfigure it, click Remove and then Setup
- If you've previously configured the app and wish to reconfigure it, click Remove and then Setup
- This will bring up a QR code on the computer screen (see below). Keep this screen with the QR code open while you proceed with the next steps on your mobile device.
- You will need to install the Okta Verify app from your mobile device's app store (App Store on iPhone, Play Store on Android) if you've not previously done so. Then open the app on your mobile device and click the + button in the top right corner to add an account
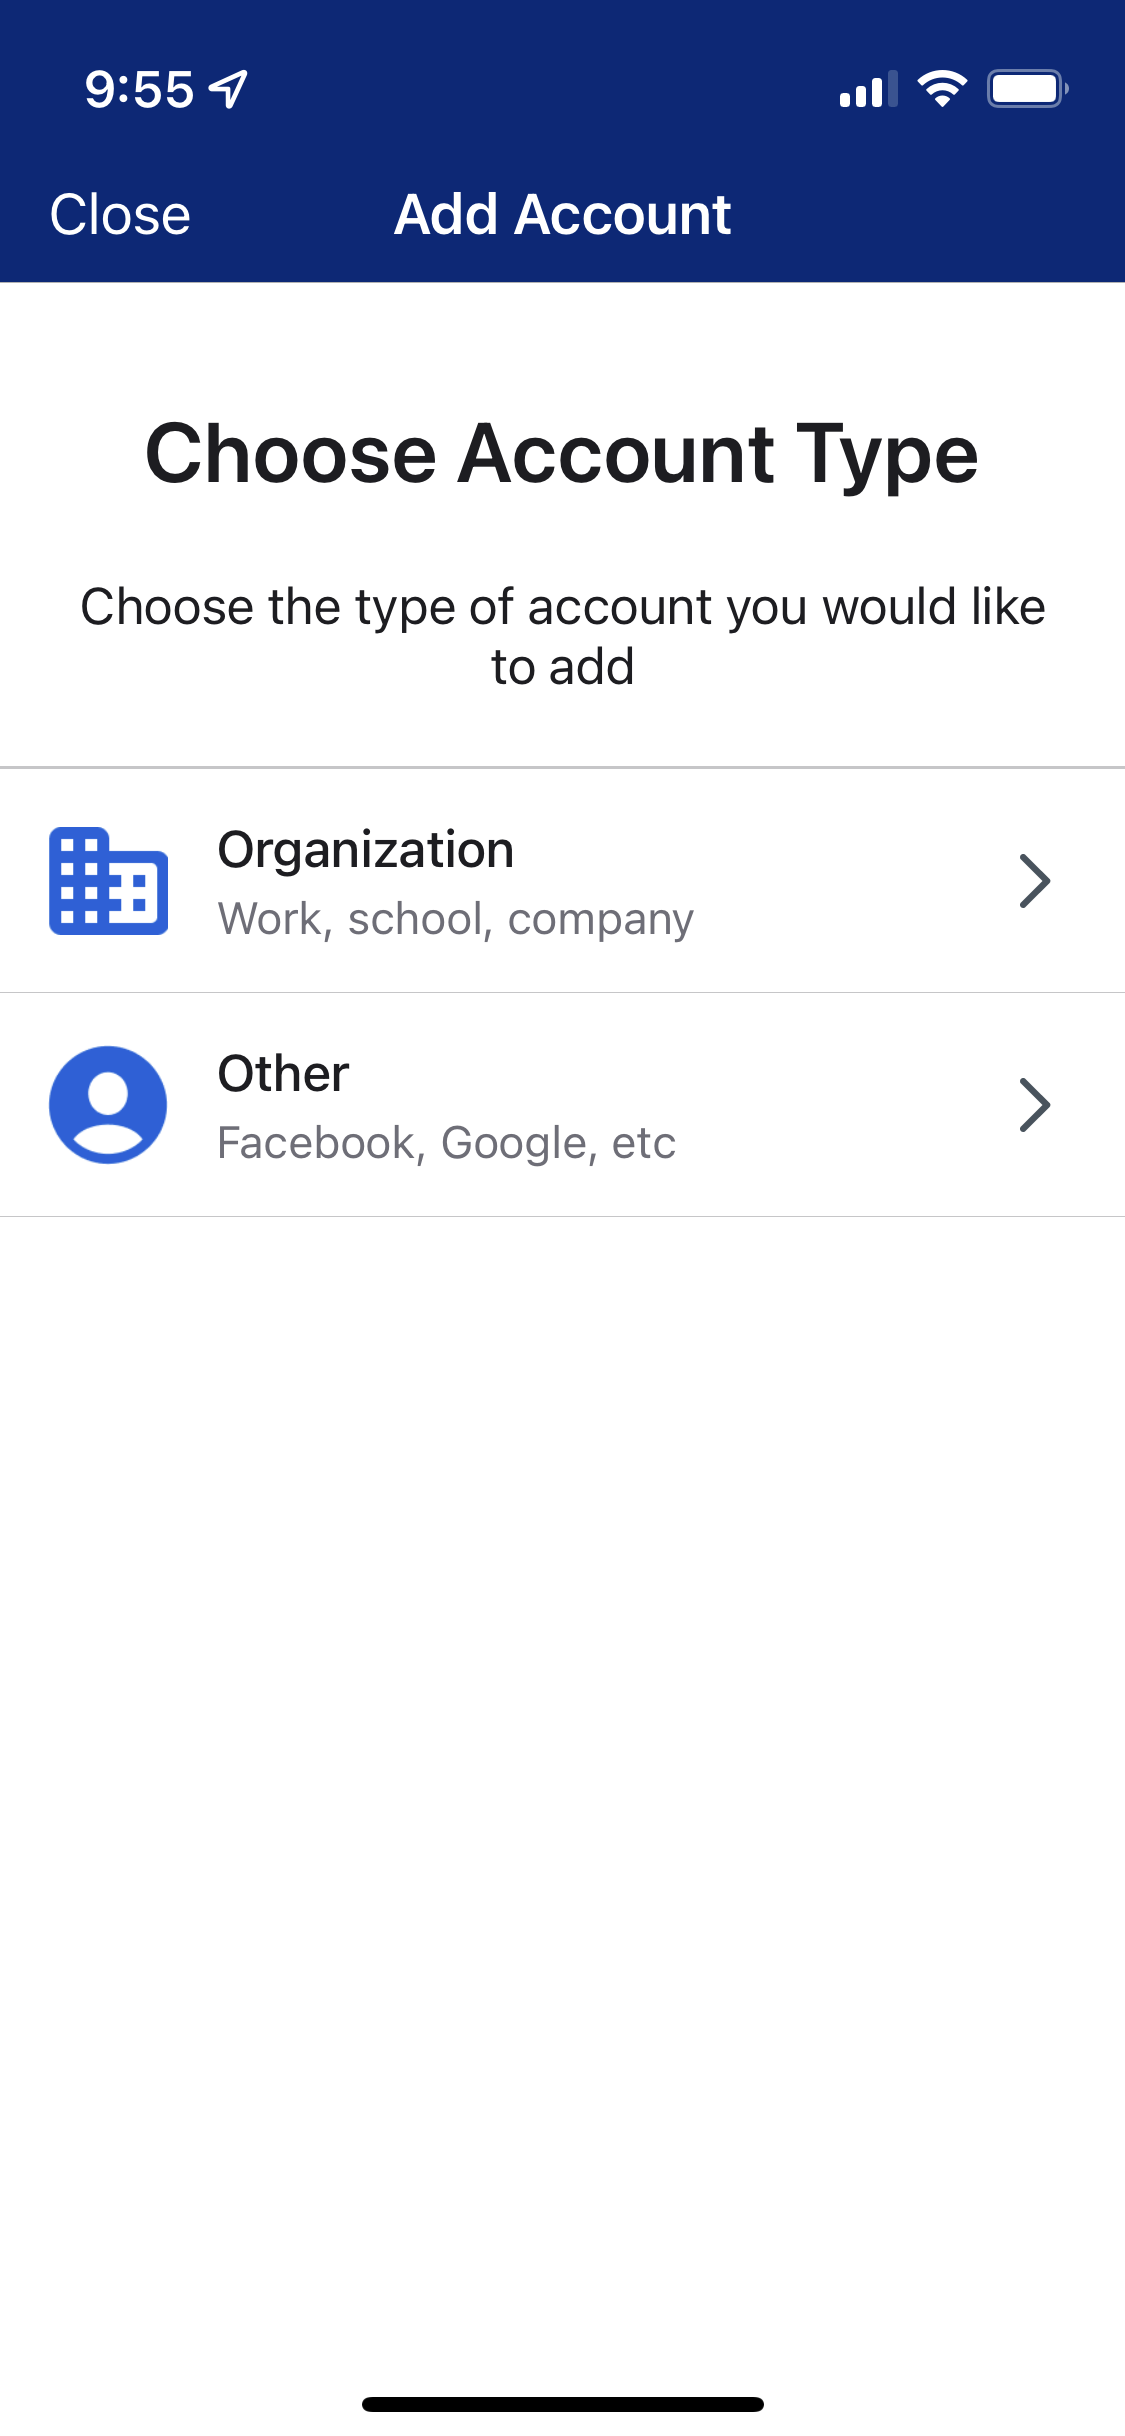
- On your mobile device, you'll be prompted to choose an Account Type -- select Organization
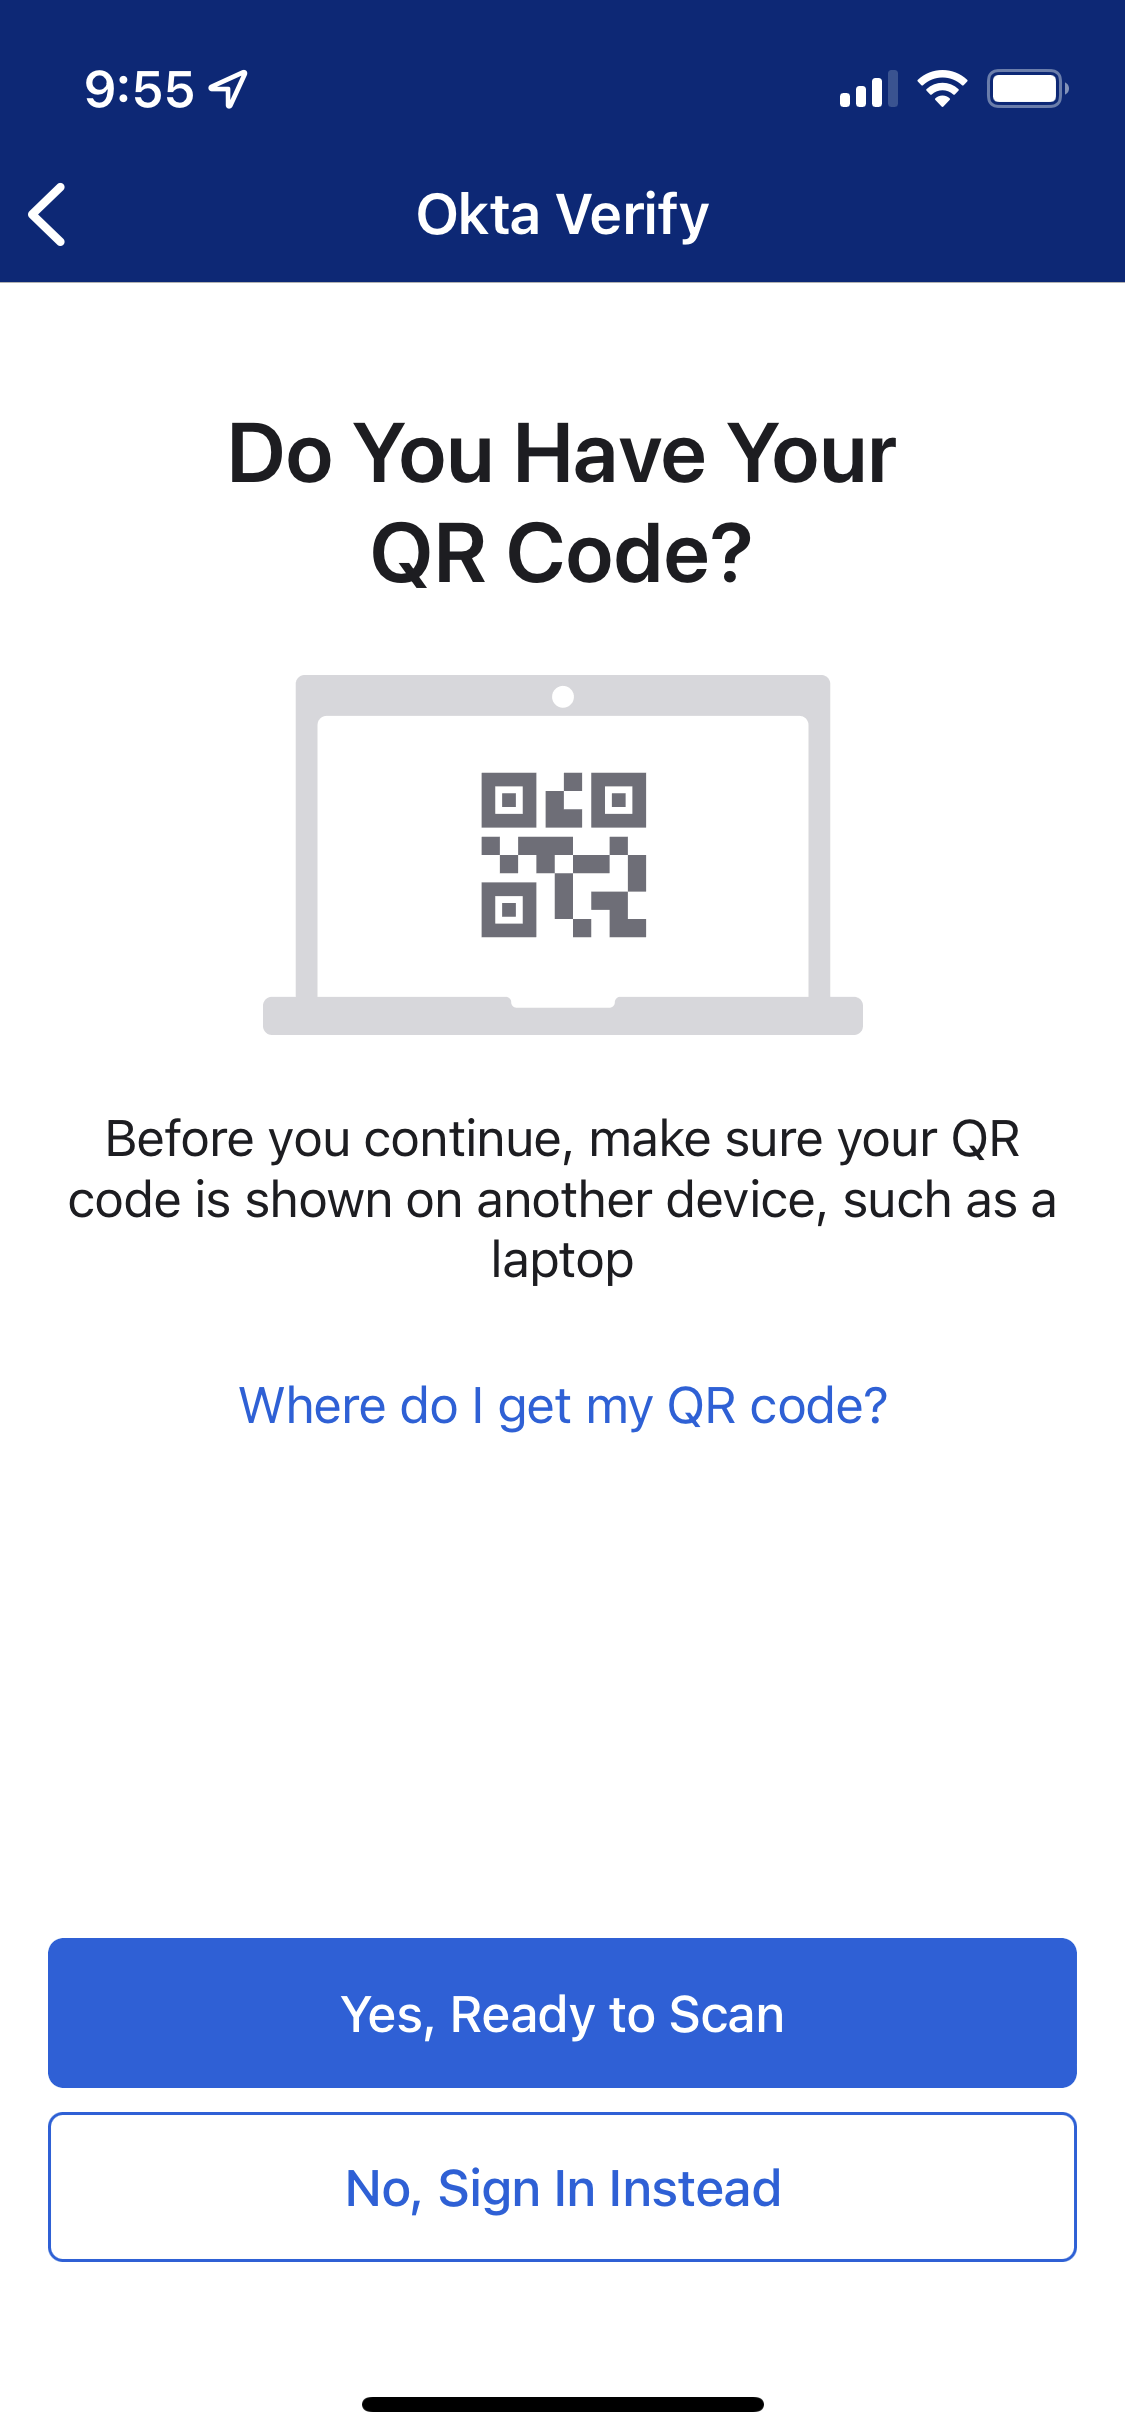
- On your mobile device, click Yes, ready to Scan
- Position your phone's camera so that the QR code on your computer screen is scanned
- Your phone may ask if you want to Enable FaceID or other options (respond as desired, but make sure to enable Push Notifications so you are notified of each sign-in authentication attempt)
- Your account is now added and you are able to use Okta Verify as a security method
Note: If you replace the device that the Okta Verify app is installed on, the app will cease to work. For this reason, we recommend you enroll at least one additional device to be used as a backup, as mentioned at the beginning of this article.